We are a little behind this year in starting the vegetable gardens. It has been a cooler than usual spring and extremely dry where we live in central Virginia. But it’s not a huge cause of concern for us. The late frost and hard ground from lack of rain would have made it difficult for young plants to flourish. James has also come to believe that planting later in the growing season is actually beneficial for some veggies such as green beans and tomatoes. More to come on that last thought in a later post, so stay tuned!
Whether you are starting a large garden as we do, a backyard garden plot or a container garden on your deck, back porch or windowsill, ensuring good soil is always the first step and the key to a bountiful garden. Plants will more likely thrive in soil that is loose, well drained and rich in nutrients.
Here in central Virginia, we have a lot of clay in our soil, so it needs tilled well, organic matter added to increase nutrients and raised rows to allow for drainage. If you are unsure of the quality of your soil, you can have it tested. Many local extension service offices will test garden soil for free or for a minimal fee. To find your local extension office, you can visit extension.org, search for your state and then for your county.

Step 1 Till and Amend Soil
You don’t need high dollar fertilizers to amend your soil. James tills in a variety of natural elements to increase nutrients such as grass clippings, leaves and composted material. The same is true for small backyard gardens. And if you don’t have a tiller, no worries! Before we had the farm, we had a small vegetable garden in the backyard of our house in the suburbs. We turned that ground over with shovels and a nifty tool called The Garden Claw. You can see what that looks like here. It works like a charm. For container gardening, a good organic potting mix from your local gardening supply store works great.

Step 2 Prepare an adequate spot for the plant
A spade or pick works great for small or large gardens to dig a hole for your plant to grow in. Most plants require a space at least 10-12 inches in depth. In containers, depending on the type of plant, the range is 6-24 inches. Many vegetables do exceptionally well grown in pots such as tomatoes, peppers, herbs and leafy greens. For a complete guide on pot size, soil prep and watering for container gardening, see this article for some great information!

Step 3 Set the plant
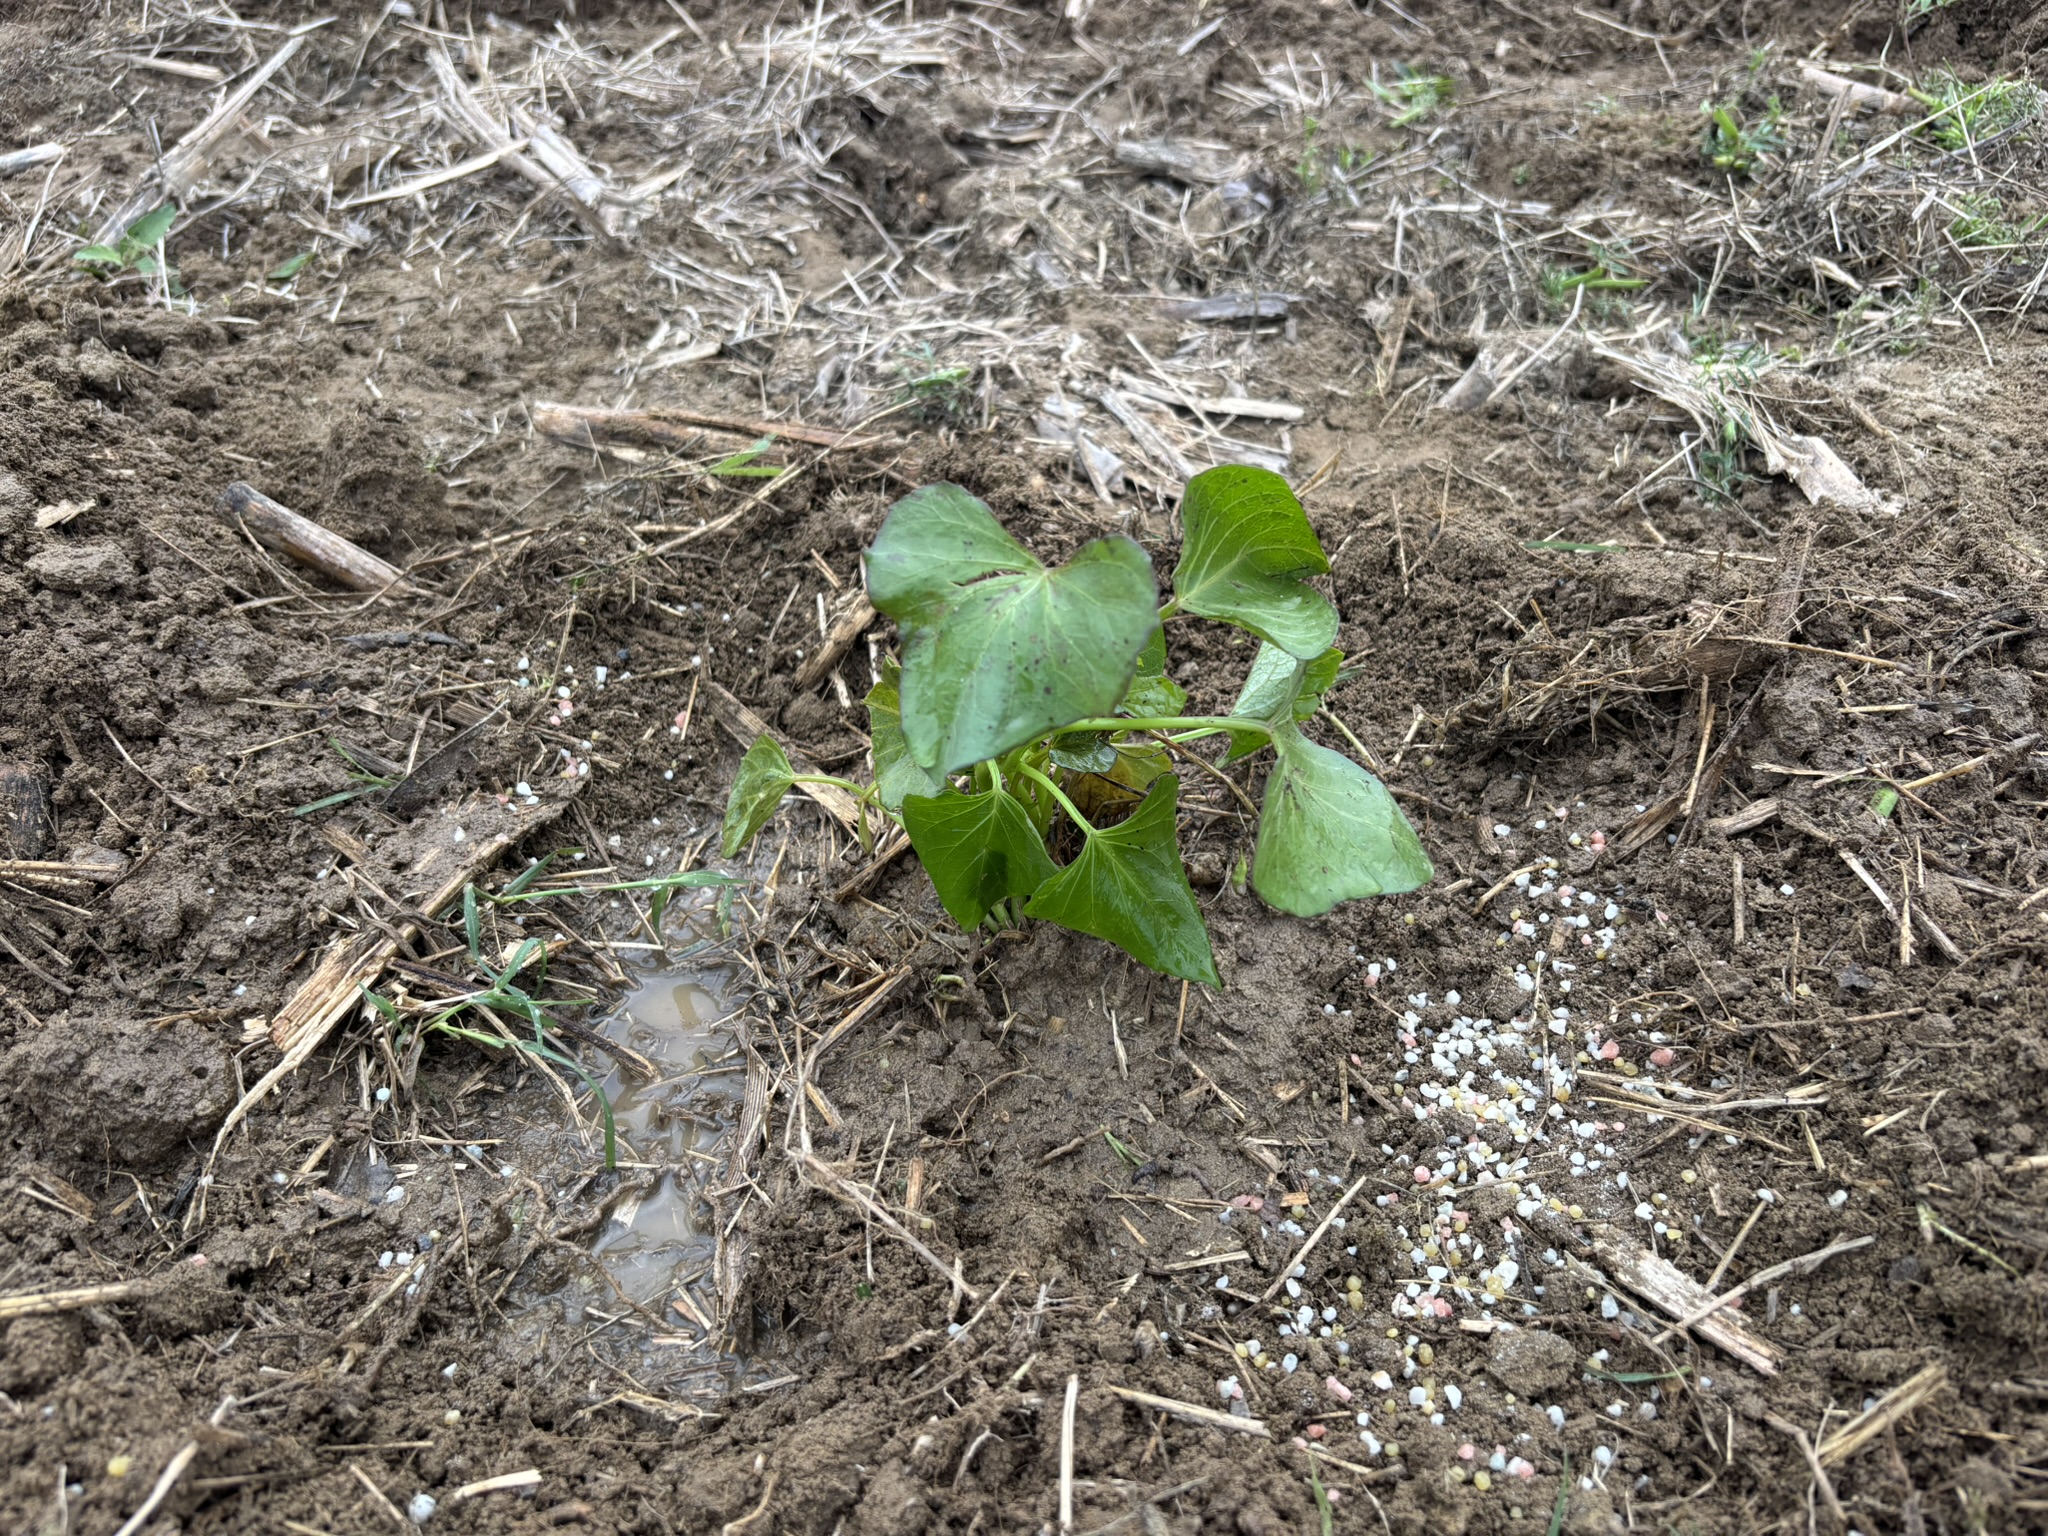
Give your plant a snug and secure home from the beginning. Once you set the plant in hole, backfill with dirt and then tap firmly but gently. No need to stamp down on it. Just think about as if you are tucking the plant in for a good night’s rest.

Step 4 Water Well
Newly set plants don’t need to be drowned but they do need a good supply of water to get them going. Water well enough around the base of the plant so that there is a slight puddle surrounding it. Water daily following initial planting and do not skip a day, especially during a dry spell.
That’s it! There is so much more we could say about rotating crops, weeding, and pest management but we’ll save those for another day. With these few steps, you are on your way to enjoying a bountiful garden full of fresh veggies – free of processing, free of chemicals, and straight to your table without stopping anywhere else. There is nothing not to love about that!